Hexo学习笔记以及常见错误
前提,注意!
在进行任何更改后,务必进行以下代码:
1 | //在本地看到效果,而不部署git |
在输入hexo g后 才会生成public目录
引入别人的主题若启动时报以下错误
extends includes/layout.pug block content include includes/recent-posts.pug include includes/partial
则在博客根路径中,键入以下代码:
1 | npm install --save hexo-renderer-jade hexo-generator-feed hexo-generator-sitemap hexo-browsersync hexo-generator-archive |
在使用别人的主题过程中,一定要去看别人发布的关于这个主题的使用文档!
看文档!
看文档!
看文档!
博客中的文章字数统计插件
1 | npm install hexo-wordcount --save |
然后在主题中的配置文件中打开wordcount:
博客中的本地搜索插件
1 | npm install hexo-generator-json-content --save |
在blog根目录中的
config.yml中,键入代码:1
2
3
4
5# 本地搜索
search:
path: search.json
field: post
content: true在自己的主题目录下的
config.yml中打开本地搜索,键入代码:1
2
3local_search:
# 是否启用
enable: true博客中的Valine评论(前提是上传到Gitee或者GitHub)
首先在主题中的
config.yml中 找到对应Valine的区域enable相应的Valine插件1
2
3
4
5
6
7
8
9
10
11
12
13
14
15
16
17
18
19
20
21
22
23
24
25
26# Valine
# See: https://valine.js.org/quickstart.html
valine:
enable: true
# Your leancloud application appid.
appid: LeanCloud上创建的appid
# Your leancloud application appkey.
appkey: LeanCloud上创建的appkey
# Mail notifier.
notify: true
# Verification code.
verify: true
# Comment box placeholder.
placeholder: 说点啥再走呗~爱你
# Gravatar style.
avatar: mp
# Custom comment header.
meta: nick,email
# Pagination size.
pageSize: 10
# Article reading statistics.
visitor: false
# Whether to record the commenter IP.
recordIP: false
# Optional values: en | zh-cn
language:去LeanCloud上注册相关应用并打开你的白名单域名(设置,安全中心)https://vincent990413.gitee.io/myblog/根目录,比如:`https://vincent990413.gitee.io/myblog/`
写完博客,成功部署到这个白名单页面即可。
部署到Gitee过程以及会出现的错误
Gitee创建项目 并获得Git拉取地址(….xxx.git)
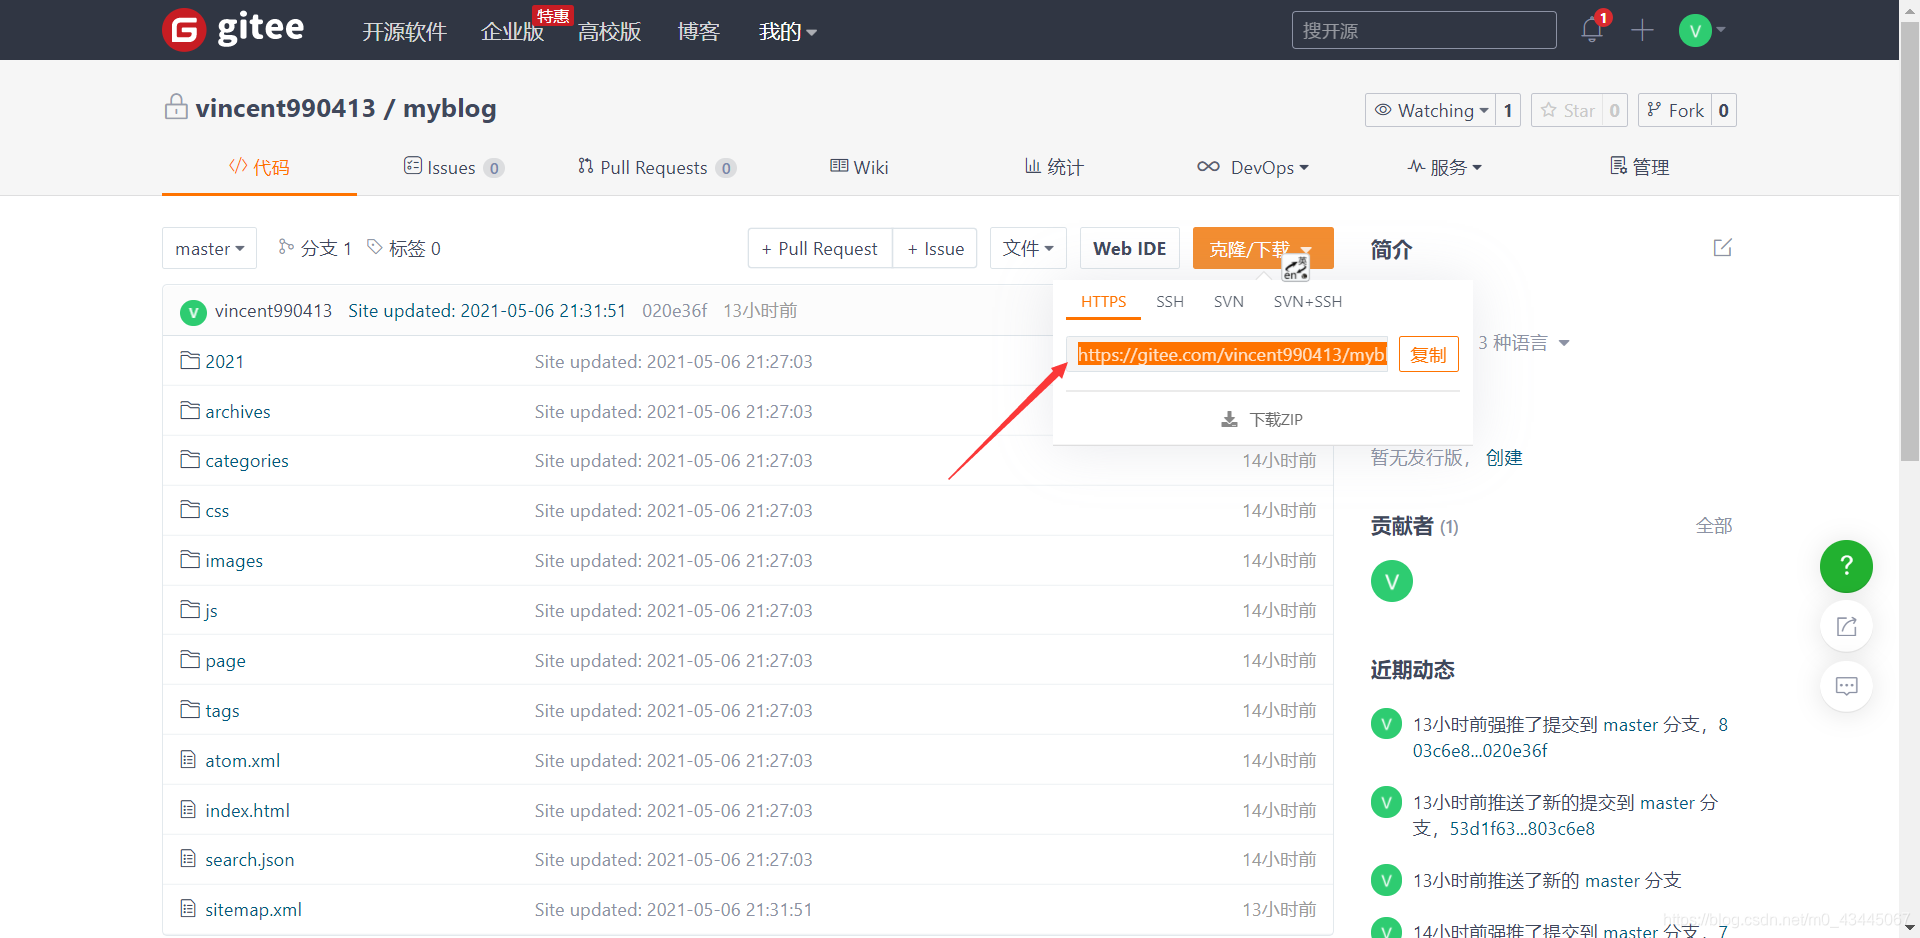
1
https://gitee.com/vincent990413/myblog.git
在博客根目录配置文件中指定提交的git地址
1
2
3
4
5deploy:
type: git
# 这个是克隆项目时的地址!
repo: https://gitee.com/vincent990413/myblog.git
branch: master在博客根目录配置文件中引入资源根地址
1
2
3
4# URL
## Set your site url here. For example, if you use GitHub Page, set url as 'https://username.github.io/project'
url: https://vincent990413.gitee.io/myblog
root: /myblog/
部署项目时出现403 have no permission错误
部署项目到github&gitee上
如果出现Can’t access… 就是网络问题,重复部署即可。
部署到Github
只需要改动博客根目录下的配置文件即可(前提是主题中的配置文件等导航栏、静态图片引入正确):
1 | # 访问项目的URL |
注意:当部署到Gitee码云时,如果页面的静态资源文件无法正常显示,很有可能时引用问题。
比如:
如果引入某个照片,如果是部署到Github下,键入代码:
1 | url: /images/myPhoto.jpg |
如果是引入到Gitee中,键入代码:
1 | url: /本页上方关于部署到Gitee git地址末尾的二级目录/images/myPhoto.jpg |
而且,需要将静态资源文件,放在根目录以及主题目录的两个source目录下(都要放)。