Shiro与Spring security
他们之间很像,除了名字、类名不一样。
可以实现定制化身份认证 Authentication
权限控制 Access of Control
权限:
Spring Security 用于简化过滤器&拦截器
我们不用改变原来项目的业务代码,而是在项目中加入config。帮我们去做一些事情
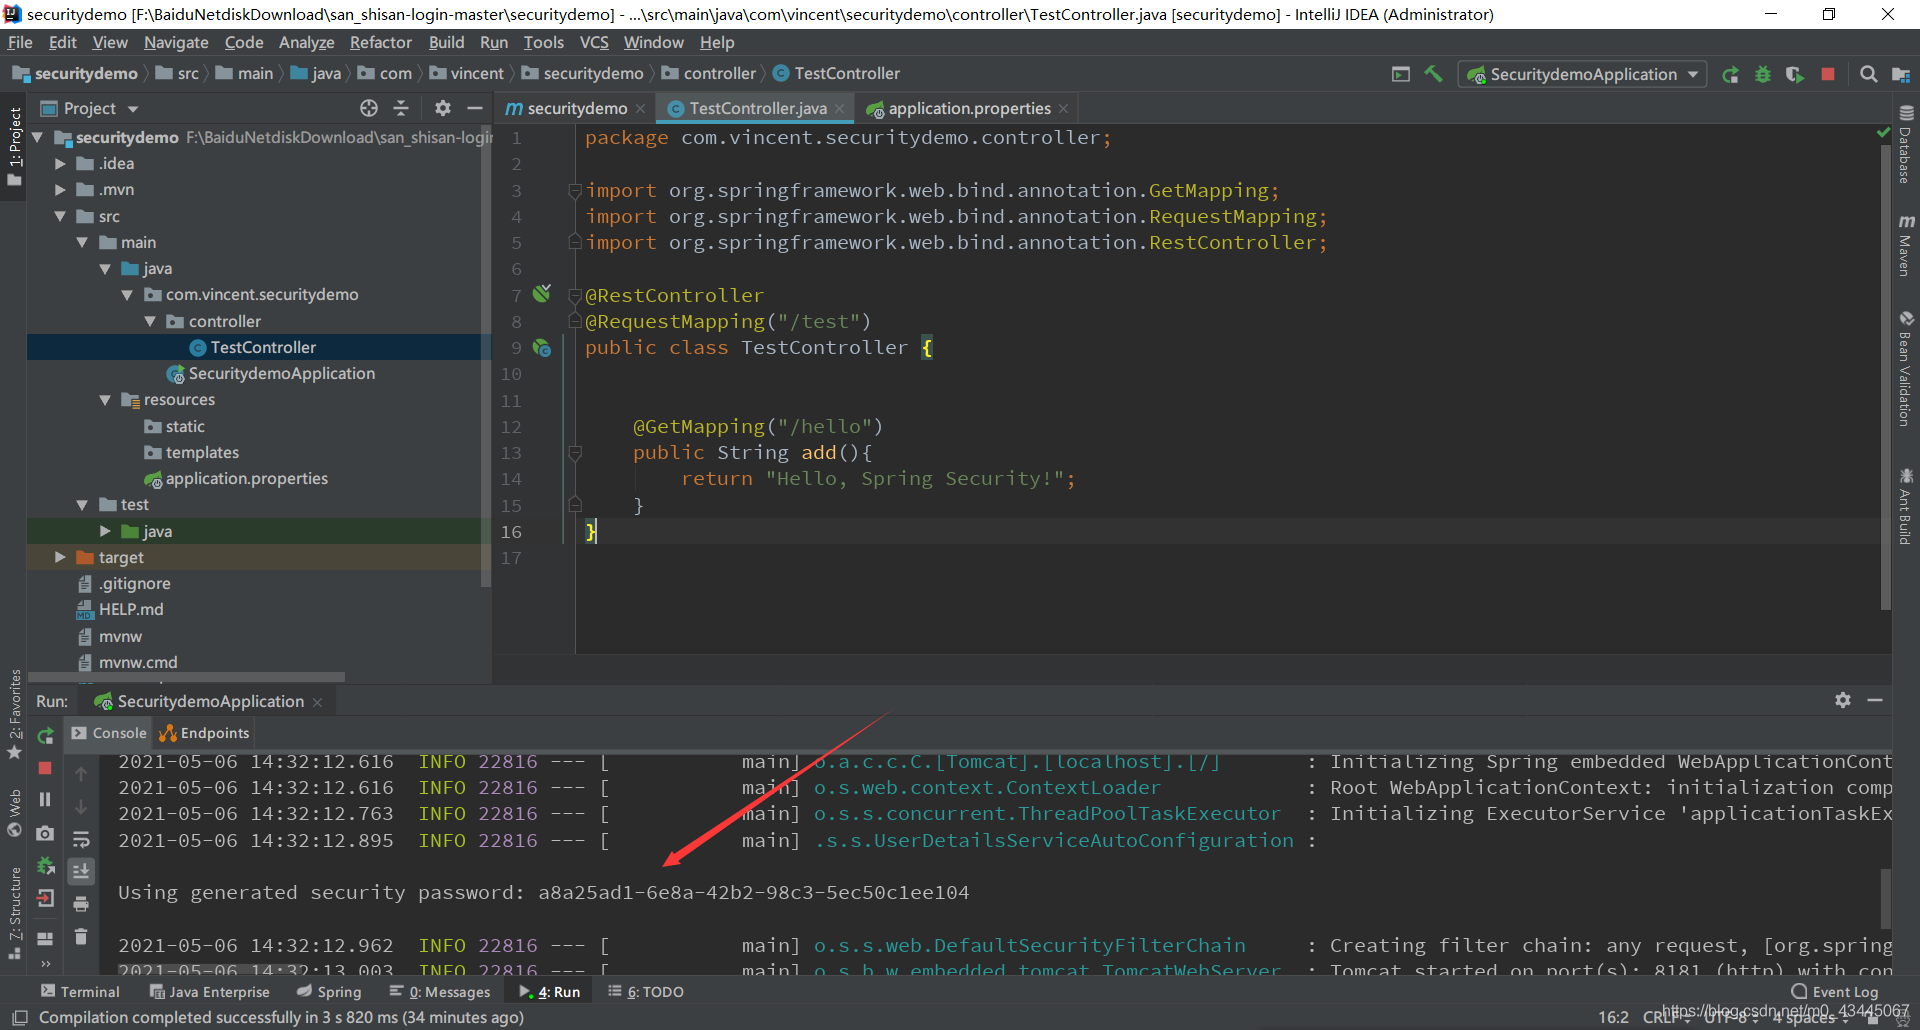
在controller包下新增TestController.java
1
2
3
4
5
6
7
8
9
10
11
12
13
import org.springframework.web.bind.annotation.GetMapping;import org.springframework.web.bind.annotation.RequestMapping;import org.springframework.web.bind.annotation.RestController;@RestController @RequestMapping("/test") public class TestController @GetMapping("/hello") public String add () return "Hello, Spring Security!" ; } }
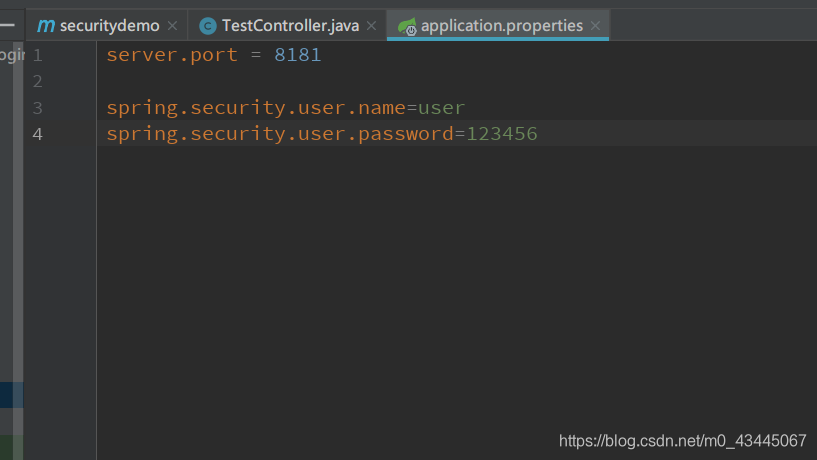
在application.properties中
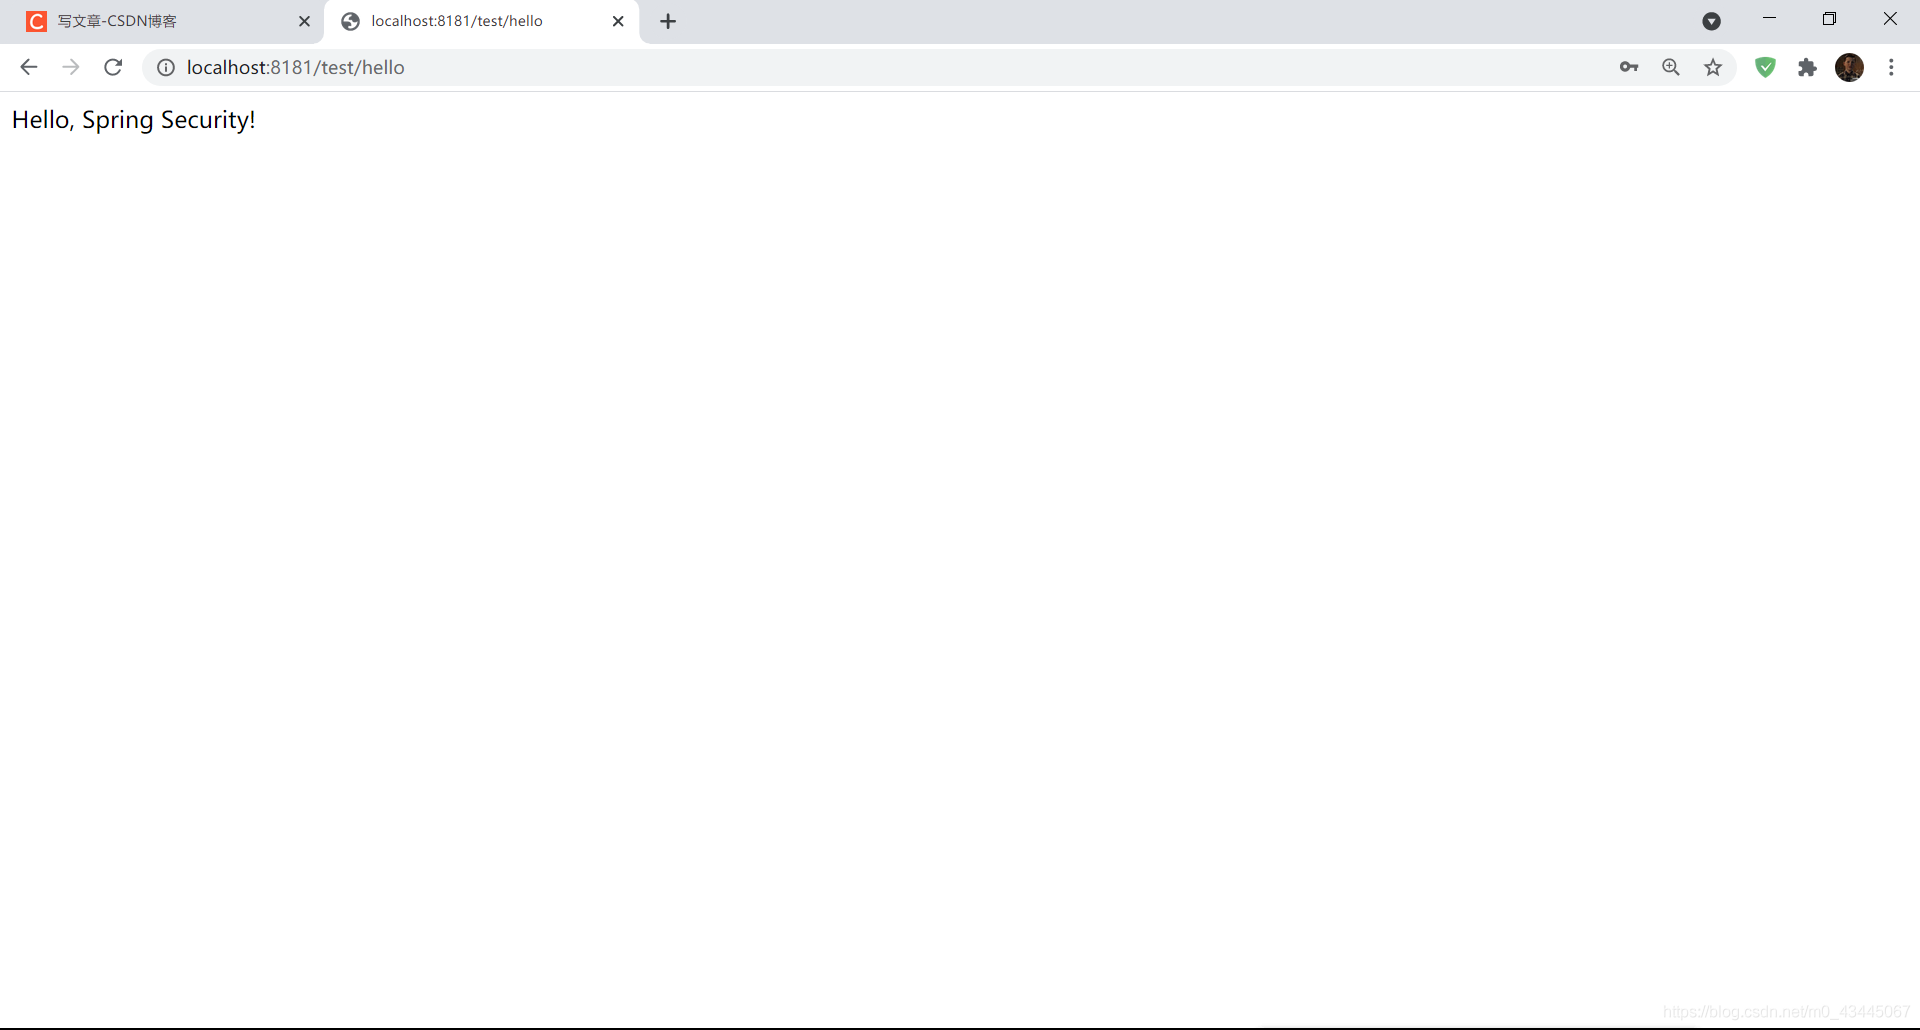
1 localhost:8181/test/hello
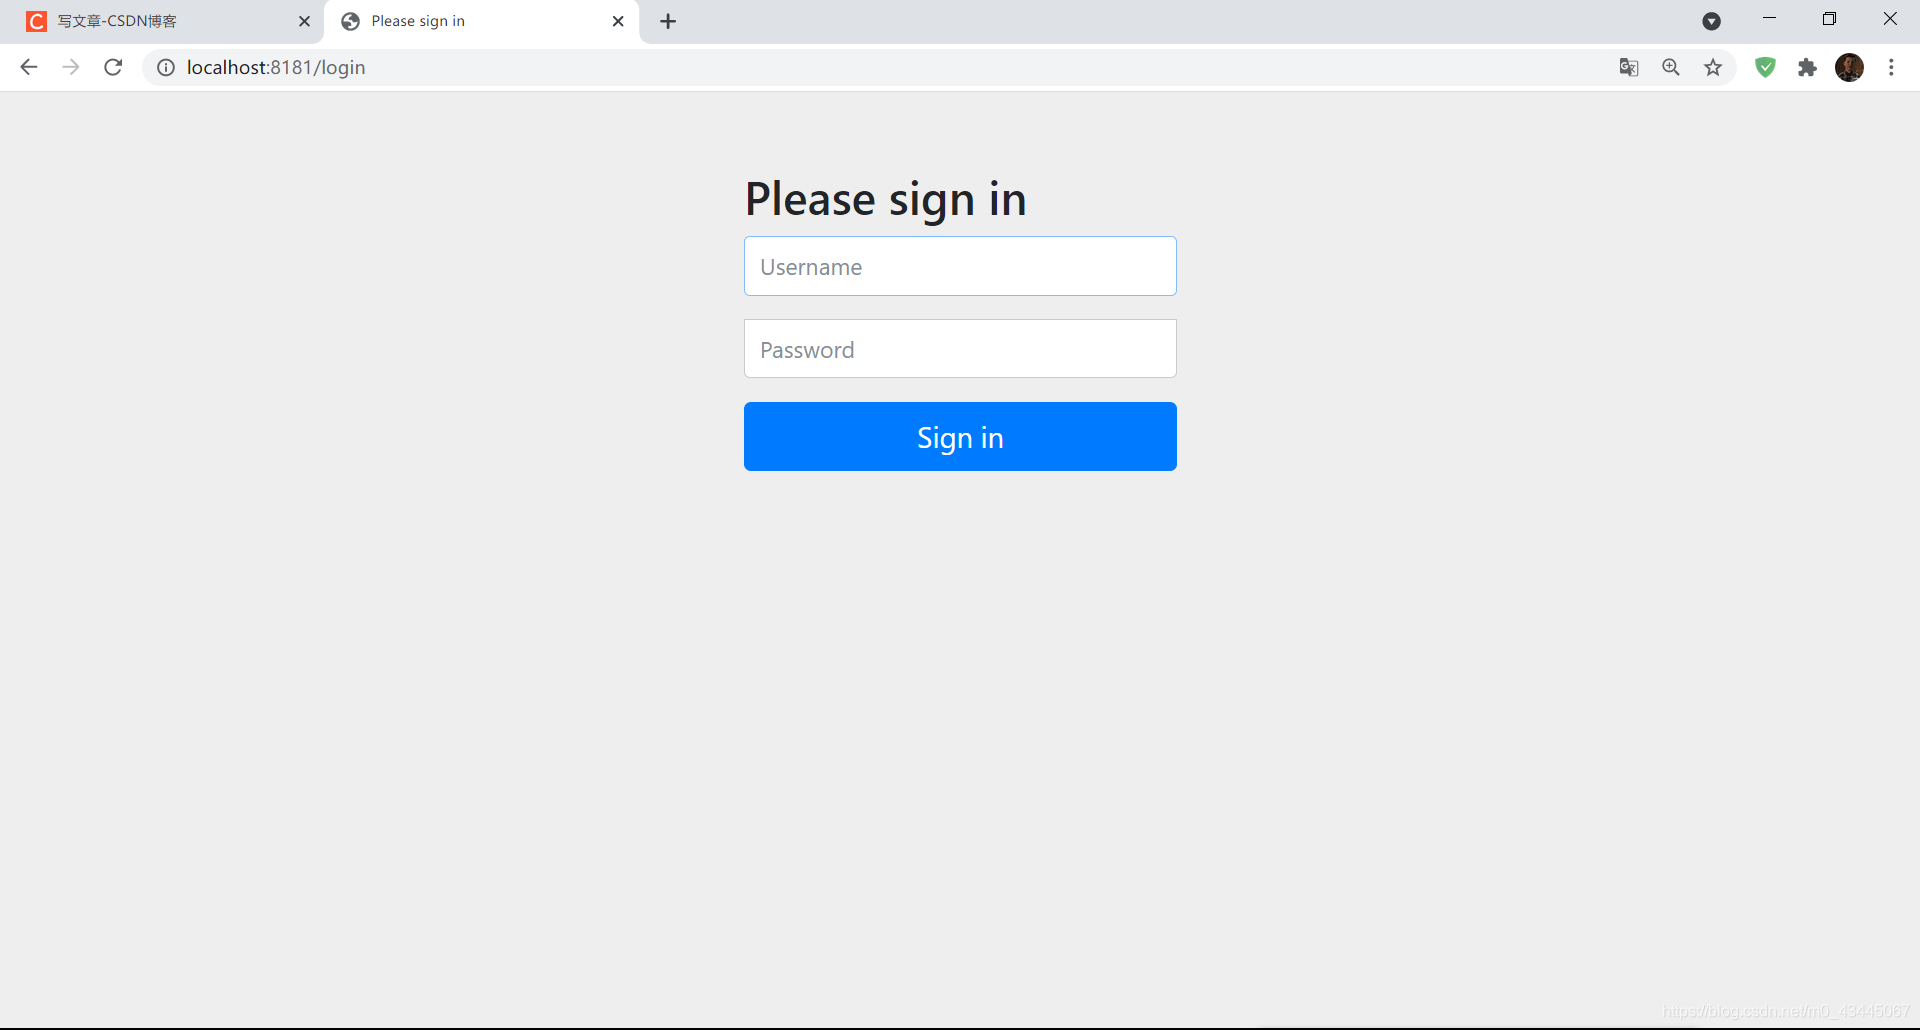
系统会出现这个界面:
默认的用户名:user
控制台(如图)会出现我们的默认密码Using generated security password
在正确输入后,会出现下图效果:
Spring Security框架本质上就是一套的过滤器链 FilterChain
也就是说,有很多的过滤器Filter,执行到具体方法时,就会进入过滤器,只有过滤器对其进行过滤放行,才能进入到下一个过滤器。
FilterSecurityInterceptor是一个方法级的权限过滤器,具体有doFilter方法。
首先看之前的过滤器是否执行,如果执行,才执行自己的过滤器。
ExceptionTranslationFilter是一个处理权限过程中,出现的异常问题的过滤器。依据每个不同的异常,做不同的处理。
对/login且使用POST请求过来的表单做一个用户名密码校验。
如果使用SpringBoot项目的话,自动帮我们集成以下的这些代码。
如果不用SpringBoot项目集成SpringSecurity的话,需要写一个DelegationFilterProxy过滤器。
而这个DelegationFilterProxy的doFilter方法中,有一个init初始化方法,这个初始化方法中,用于获得FilterChainProxy,这个Proxy中有一个doFilterInternal方法,这个方法中有一个List<Filter>很多个过滤器,并通过迭代的方式getFilters获得这些所有的过滤器。
在实际开发中,我们的账号和密码,并不是Spring Security所默认的user和默认生成密码。
而都是从数据库中查询出来的。
因此,这个接口很方便我们进行自定义逻辑业务开发。
实现这个UserDetailsService接口即可,在这个实现方法中,写查数据库的方法。
创建一个类,继承UsernamePasswordAuthenticationFilter过滤器(重写三个方法)
创建一个类,重新UserDetailsService接口,编写查询数据过程,并返回User对象(这个对象由Security提供)
在上一个UserDetailsService 中我们需要返回一个Spring Security框架中的User对象,在这个对象中的密码,必须是要返回加密后的密码。而不能是明文。
认证 Authentication : 就是用户在登录Web中,利用自己的用户名与密码,进行用户认证。
通过 application.properties 配置文件进行配置
通过配置类
通过自定义编写实现类,实现UserDetialsService,返回这个User对象即可
1
2
spring.security.user.name = user spring.security.user.password = 123456
添加注解@configuration
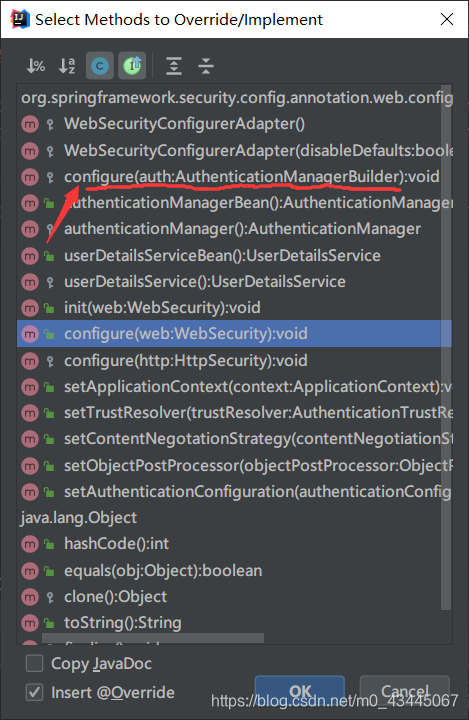
继承WebSecurityConfigurerAdapter类
重写这个类的方法(如下图)
在重写这个方法时,我们利用auth来配置用户信息,对于密码需要加密。
而且,要记得加一个@bean注解用于验证PasswordEncoder映射 ,否则会报错。
1
2
3
4
5
6
7
8
9
10
11
12
13
14
15
16
17
18
19
20
21
22
23
24
import org.springframework.context.annotation.Bean;import org.springframework.context.annotation.Configuration;import org.springframework.security.config.annotation.authentication.builders.AuthenticationManagerBuilder;import org.springframework.security.config.annotation.web.configuration.WebSecurityConfigurerAdapter;import org.springframework.security.crypto.bcrypt.BCryptPasswordEncoder;import org.springframework.security.crypto.password.PasswordEncoder;@Configuration public class SecurityConfig extends WebSecurityConfigurerAdapter @Override protected void configure (AuthenticationManagerBuilder auth) throws Exception BCryptPasswordEncoder bCryptPasswordEncoder = new BCryptPasswordEncoder(); String passwordEncoded = bCryptPasswordEncoder.encode("123456" ); auth.inMemoryAuthentication().withUser("user" ).password(passwordEncoded).roles("admin" ); } @Bean PasswordEncoder passwordEncoder () { return new BCryptPasswordEncoder(); } }
现在我们可以用这个用户名user 密码123456 去登录了。而这个user用户,具有的角色是:admin
创建配置类,auth使用UserDetailsService(注入一个UserDetailsService类)
编写实现类,返回User对象,这个对象由用户名、密码以及权限
1
2
3
4
5
6
7
8
9
10
11
12
13
14
15
16
17
18
19
20
21
22
23
24
25
26
27
28
29
30
31
package com.vincent.securitydemo.config;import org.springframework.beans.factory.annotation.Autowired;import org.springframework.context.annotation.Bean;import org.springframework.context.annotation.Configuration;import org.springframework.security.config.annotation.authentication.builders.AuthenticationManagerBuilder;import org.springframework.security.config.annotation.web.configuration.WebSecurityConfigurerAdapter;import org.springframework.security.core.userdetails.UserDetailsService;import org.springframework.security.crypto.bcrypt.BCryptPasswordEncoder;import org.springframework.security.crypto.password.PasswordEncoder;@Configuration public class SecurityUserServiceConfig extends WebSecurityConfigurerAdapter @Autowired private UserDetailsService userDetailsService; @Override protected void configure (AuthenticationManagerBuilder auth) throws Exception auth .userDetailsService(userDetailsService) .passwordEncoder(passwordEncoder()); } @Bean PasswordEncoder passwordEncoder () { return new BCryptPasswordEncoder(); } }
编写一个实现类MyUserDetailsService去实现UserDetailsService(我们的配置类需要),重写这个loadUserByUsername方法加载用户信息。
注意:@Service(“userDetailsService”)
这个参数要与配置类中,@Autowire自动装配的名字一样。不然找不到。
1
2
3
4
5
6
7
8
9
10
11
12
13
14
15
16
17
18
19
20
21
22
23
24
package com.vincent.securitydemo.service;import org.springframework.security.core.GrantedAuthority;import org.springframework.security.core.authority.AuthorityUtils;import org.springframework.security.core.userdetails.User;import org.springframework.security.core.userdetails.UserDetails;import org.springframework.security.core.userdetails.UserDetailsService;import org.springframework.security.core.userdetails.UsernameNotFoundException;import org.springframework.security.crypto.bcrypt.BCryptPasswordEncoder;import org.springframework.stereotype.Service;import java.util.List;@Service("userDetailsService") public class MyUserDetailsService implements UserDetailsService @Override public UserDetails loadUserByUsername (String s) throws UsernameNotFoundException List<GrantedAuthority> authorityList = AuthorityUtils.commaSeparatedStringToAuthorityList("role" ); return new User("user" , new BCryptPasswordEncoder().encode("123456" ), authorityList); } }
注意,我们返回的User对象有三个参数:用户名,加密后的密码以及一个Collection表示具有的权限集合
整合MybatisPlus进入到这一步,实现具体的数据库操作。
引入MybatisPlus依赖
引入MySQL依赖
引入工具类Lombok 方便实体类注解
1
2
3
4
5
6
7
8
9
10
11
12
13
14
15
16
17
18
19
20
21
22
23
24
25
26
27
28
29
30
31
32
33
34
35
36
37
38
39
40
41
42
43
<!--web项目依赖--> <dependency> <groupId>org.springframework.boot</groupId> <artifactId>spring-boot-starter-web</artifactId> </dependency> <!--security依赖--> <dependency> <groupId>org.springframework.boot</groupId> <artifactId>spring-boot-starter-security</artifactId> </dependency> <!--pojo注解生成get、set方法--> <dependency> <groupId>org.projectlombok</groupId> <artifactId>lombok</artifactId> </dependency> <!--mybatis依赖--> <dependency> <groupId>com.baomidou</groupId> <artifactId>mybatis-plus-boot-starter</artifactId> <version>3.1 .1 </version> </dependency> <!--MySQL依赖--> <dependency> <groupId>mysql</groupId> <artifactId>mysql-connector-java</artifactId> </dependency> <!--测试依赖--> <dependency> <groupId>org.springframework.boot</groupId> <artifactId>spring-boot-starter-test</artifactId> <scope>test</scope> <exclusions> <exclusion> <groupId>org.junit.vintage</groupId> <artifactId>junit-vintage-engine</artifactId> </exclusion> </exclusions> </dependency>
id 自增数字主键
username varchar类型
password varchar类型
创建mapper包 UserMapper接口 extends BaseMapper 泛型
1
2
3
4
5
6
7
8
9
10
package com.vincent.securitydemo.mapper;import com.baomidou.mybatisplus.core.mapper.BaseMapper;import com.vincent.securitydemo.entity.User;@Repository public interface UserMapper extends BaseMapper <User > }
Service实现类中 注入UserMapper对象
1
2
3
4
5
6
7
8
9
10
11
12
13
14
@Service("userDetailsService") public class MyUserDetailsService implements UserDetailsService @Autowired private UserMapper userMapper; @Override public UserDetails loadUserByUsername (String s) throws UsernameNotFoundException return ...; } }
利用Mybatis-plus中的QueryWrapper帮我们规定查询满足的条件 并通过UserMapper中的查询方法,注意判断根据用户名查询出来的User对象(我们定义的Entity)是否为空
最终返回Spring Security框架自己的User对象
注意看代码中的注释内容!!!
1
2
3
4
5
6
7
8
9
10
11
12
13
14
15
16
17
18
19
20
21
22
23
24
25
26
27
28
29
30
31
32
33
34
35
36
37
38
39
40
41
42
43
package com.vincent.securitydemo.service;import com.baomidou.mybatisplus.core.conditions.query.QueryWrapper;import com.vincent.securitydemo.entity.User;import com.vincent.securitydemo.mapper.UserMapper;import org.springframework.beans.factory.annotation.Autowired;import org.springframework.security.core.GrantedAuthority;import org.springframework.security.core.authority.AuthorityUtils;import org.springframework.security.core.userdetails.UserDetails;import org.springframework.security.core.userdetails.UserDetailsService;import org.springframework.security.core.userdetails.UsernameNotFoundException;import org.springframework.security.crypto.bcrypt.BCryptPasswordEncoder;import org.springframework.security.crypto.password.PasswordEncoder;import org.springframework.stereotype.Service;import java.util.List;@Service("userDetailsService") public class MyUserDetailsService implements UserDetailsService @Autowired private UserMapper userMapper; @Override public UserDetails loadUserByUsername (String username) throws UsernameNotFoundException QueryWrapper<User> wrapper = new QueryWrapper<>(); wrapper.eq("username" , username); User user = userMapper.selectOne(wrapper); if (user == null ) { throw new UsernameNotFoundException("用户名不存在" ); } List<GrantedAuthority> authorityList = AuthorityUtils.commaSeparatedStringToAuthorityList("role" ); return new org.springframework.security.core.userdetails.User(user.getUsername(), new BCryptPasswordEncoder().encode(user.getPassword()), authorityList); } }
这一步很关键 我们要在SpringBoot启动类中 加一个注解@MapperScan 启动Mapper 不然的话无法识别我们的Mapper
SecuritydemoApplication.java
1
2
3
4
5
6
7
8
9
10
11
12
13
14
package com.vincent.securitydemo;import org.mybatis.spring.annotation.MapperScan;import org.springframework.boot.SpringApplication;import org.springframework.boot.autoconfigure.SpringBootApplication;@SpringBootApplication @MapperScan("com.vincent.securitydemo.mapper") public class SecuritydemoApplication public static void main (String[] args) SpringApplication.run(SecuritydemoApplication.class, args); } }
application.properties 配置文件中 配置数据库信息
对于本SpringSecurity测试的SpringBoot版本是SpringBoot 2.2.1 Release
因此,在引入数据库驱动时,如果使用的是MySQL8.0驱动且加入时区
引入时,应使用:com.mysql.cj.jdbc.Driver
1
2
3
4
5
6
7
8
9
10
11
12
13
server.port = 8181 spring.datasource.driver-class-name=com.mysql.cj.jdbc.Driver spring.datasource.url = jdbc:mysql://localhost:3306/securitydemo?characterEncoding=utf-8&serverTimezone=GMT%2B8 spring.datasource.username = root spring.datasource.password = 123456 spring.jpa.show-sql = true
在实际的业务开发中,我们需要自己的好看的登录页面。因此接下来我们将指定登录的页面。
在实际的业务开发中,有些Controller是不需要进行验证用户权限的。我们也进行设置。
主要思路就是,在 SecurityConfig 配置类中,配置一下就可以了。
值得注意的是,现在我们还是用到configure方法,但是里面的参数不是AuthenticationManagerBuilder auth,而是HttpSecurity http。
我们通过http.formLogin() 进行一系列的设置
设置默认登录页面的路径
设置默认登录的请求路径(SpringSecurity自动帮我们实现)
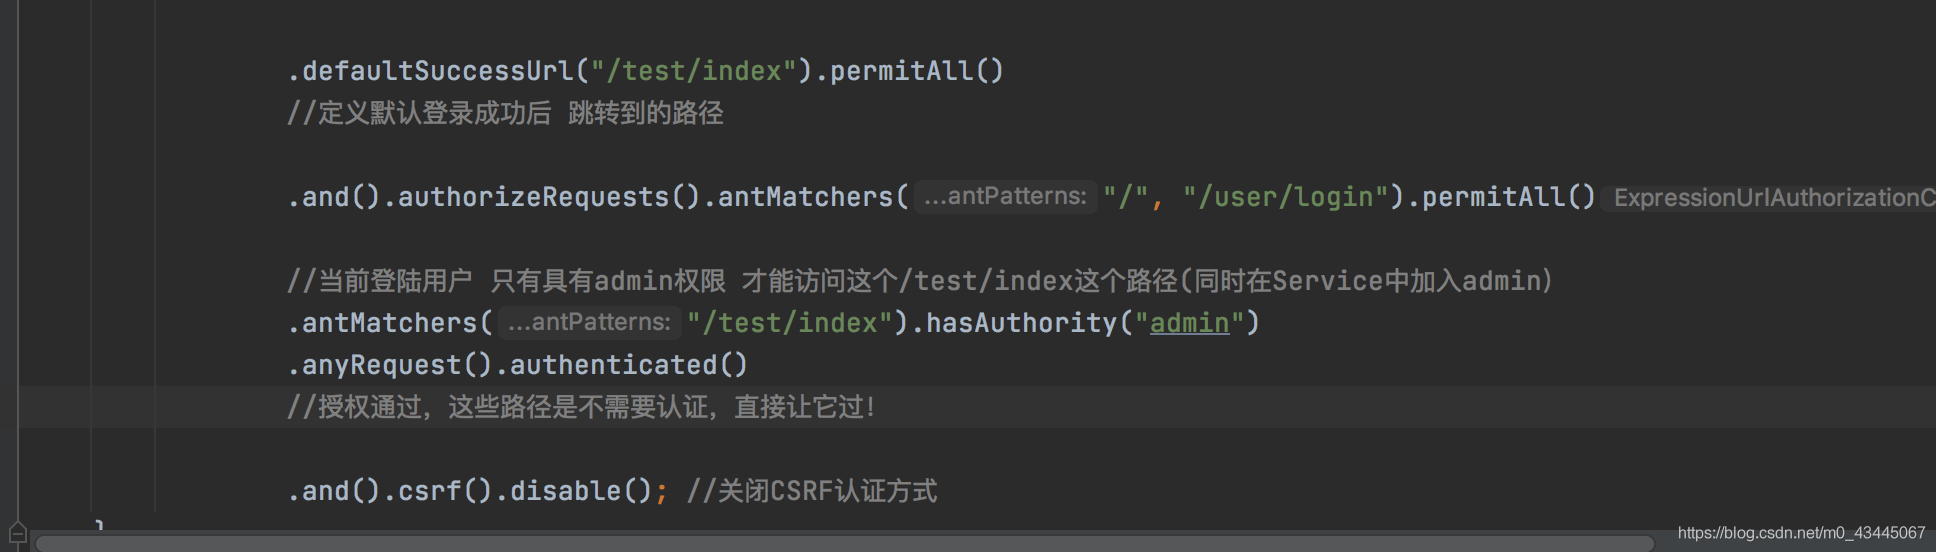
设置默认登录成功跳转的路径
设置哪些路径不需要认证,直接通过
1
2
3
4
5
6
7
8
9
10
11
12
13
14
15
16
17
18
19
20
21
22
23
24
25
26
27
28
29
30
31
32
33
34
35
36
37
38
39
40
41
42
43
44
45
46
47
48
49
50
51
52
53
54
55
package com.vincent.securitydemo.config;import org.springframework.beans.factory.annotation.Autowired;import org.springframework.context.annotation.Bean;import org.springframework.context.annotation.Configuration;import org.springframework.security.config.annotation.authentication.builders.AuthenticationManagerBuilder;import org.springframework.security.config.annotation.web.builders.HttpSecurity;import org.springframework.security.config.annotation.web.configuration.WebSecurityConfigurerAdapter;import org.springframework.security.core.userdetails.UserDetailsService;import org.springframework.security.crypto.bcrypt.BCryptPasswordEncoder;import org.springframework.security.crypto.password.PasswordEncoder;@Configuration public class SecurityUserServiceConfig extends WebSecurityConfigurerAdapter @Autowired private UserDetailsService userDetailsService; @Override protected void configure (AuthenticationManagerBuilder auth) throws Exception auth .userDetailsService(userDetailsService) .passwordEncoder(passwordEncoder()); } @Override protected void configure (HttpSecurity http) throws Exception http.formLogin() .loginPage("/login.html" ) . loginProcessingUrl("/user/login" ) .failureUrl("/error.html" ) .defaultSuccessUrl("index.html" ).permitAll() .and().authorizeRequests().antMatchers("/" , "/test/hello" , "/user/login" ).permitAll() .anyRequest().authenticated() .and().csrf().disable(); } @Bean PasswordEncoder passwordEncoder () { return new BCryptPasswordEncoder(); } }
现在我们只需要,一个登录页面,一个处理登录成功的controller
注意我们这里的action值,必须跟config中配置的请求路径相同 ,而且name只能是用户名和密码 。
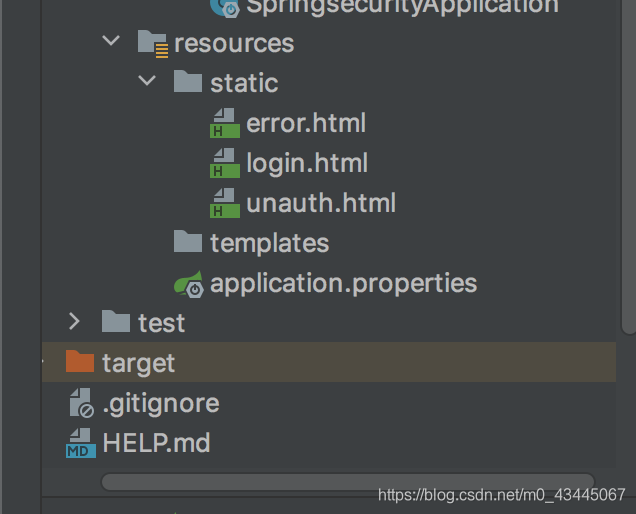
resources/static/login.html
1 2 3 4 5 <form action ="/user/login" method ="post" > 用户名:<input type ="text" name ="username" > <br > 密码: <input type ="password" name ="password" > <input type ="submit" value ="登录" > </form >
resources/static/error.html
1
2
3
4
5
6
7
8
9
10
<!DOCTYPE html > <html lang ="en" > <head > <meta charset ="UTF-8" > <title > 错误页面</title > </head > <body > <h1 > 抱歉,登录错误!</h1 > </body > </html >
resources/static/index.html
1
2
3
4
5
6
7
8
9
10
<!DOCTYPE html > <html lang ="en" > <head > <meta charset ="UTF-8" > <title > 主页面</title > </head > <body > <h1 > 登录成功,这是主界面!</h1 > </body > </html >
controller/TestController.java
1
2
3
4
@GetMapping("/index") public String toIndex () return "Hello, Index!" ; }
对于这个方法,如果用户具有指定的权限,则返回True,否则返回False.
# 在config中声明只有哪些权限可以通过这个路径请求
1 2 .antMatchers("/test/index" ).hasAuthority("admin" )
# Service中加入这些权限
1 2 List<GrantedAuthority> authorityList = AuthorityUtils.commaSeparatedStringToAuthorityList("admin" );
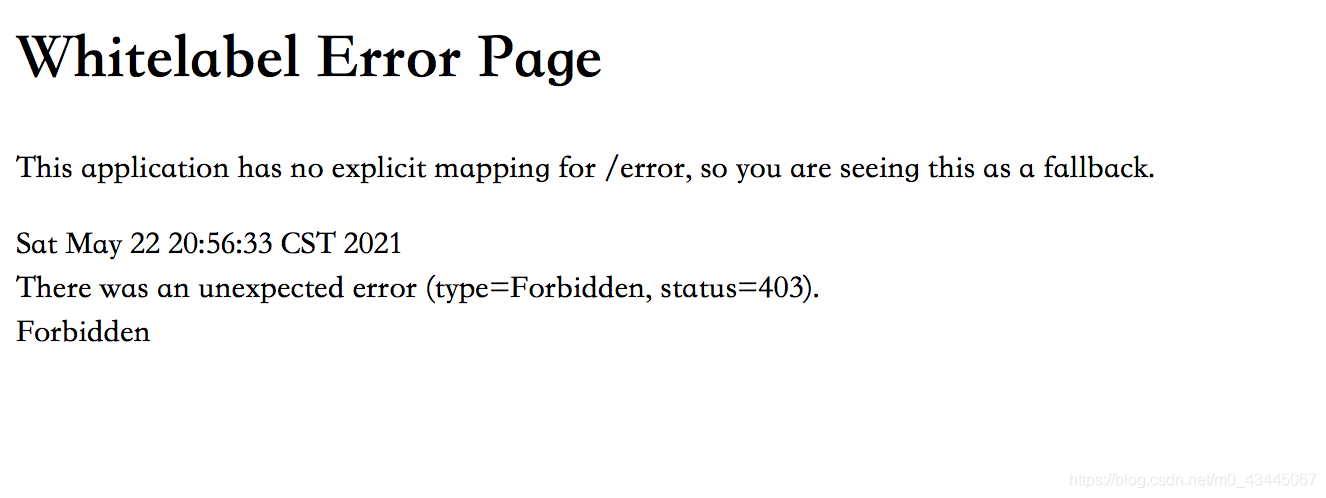
代表403权限不够!
当某个请求对于声明的角色中,任意一个角色都可以 通过时使用。
比如对于学生的管理,教师Teacher与管理员Admin都可以访问这些接口路径。
1 .antMatchers("/test/index" ).hasAnyAuthority("admin,teacher" )
则表示,当权限为teacher或者admin…等等时(用逗号隔开即可)都允许通过!
基本用法不变,但是源码显示:它会将我们声明的角色名xxx 变成ROLE_+xxx。
因此,我们在Service中,声明具有的角色时,应该手动添加为ROLE_xxx。
#配置类
1 .antMatchers("/test/index" ).hasRole("salesman" )
#Service声明具有的权限
1 List<GrantedAuthority> authorityList = AuthorityUtils.commaSeparatedStringToAuthorityList("admin,Role_salesman" );
用法与hasAnyAutority一致。
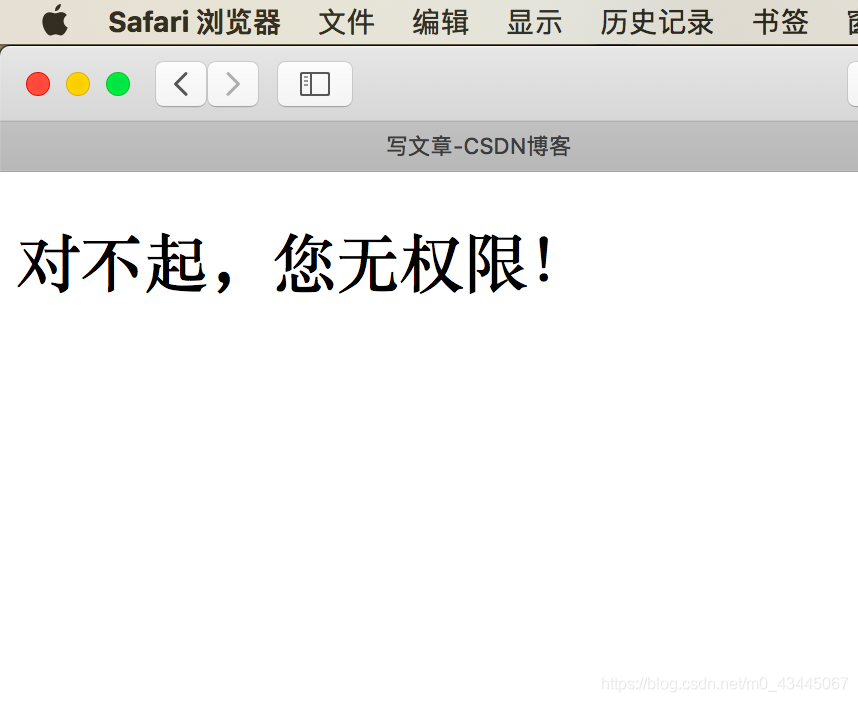
1 http.exceptionHandling().accessDeniedPage("/unauth.html" );
如果满足无权限条件的话,会跳转到这个页面。
这个注解表示:用户具有某个角色,可以根据这个角色来访问相应的接口。
使用这个注解时,我们要打开注解功能:
添加注解到Springboot启动类 或者Config配置类 上:
1 @EnableGlobalMethodSecurity(securedEnabled = true)
在Controller的方法上面,使用这个注解,自动为我们判断角色权限。
1
2
3
4
5
@GetMapping("/deleteUser") @Secured("ROLE_admin") public String deleteUser () return "通过权限,这是删除页面!" ; }
表示这个方法,必须要具有admin角色才能进入。
在启动类相同位置,逗号,开启prePostEnabled = true
1 @EnableGlobalMethodSecurity(securedEnabled = true, prePostEnabled = true)
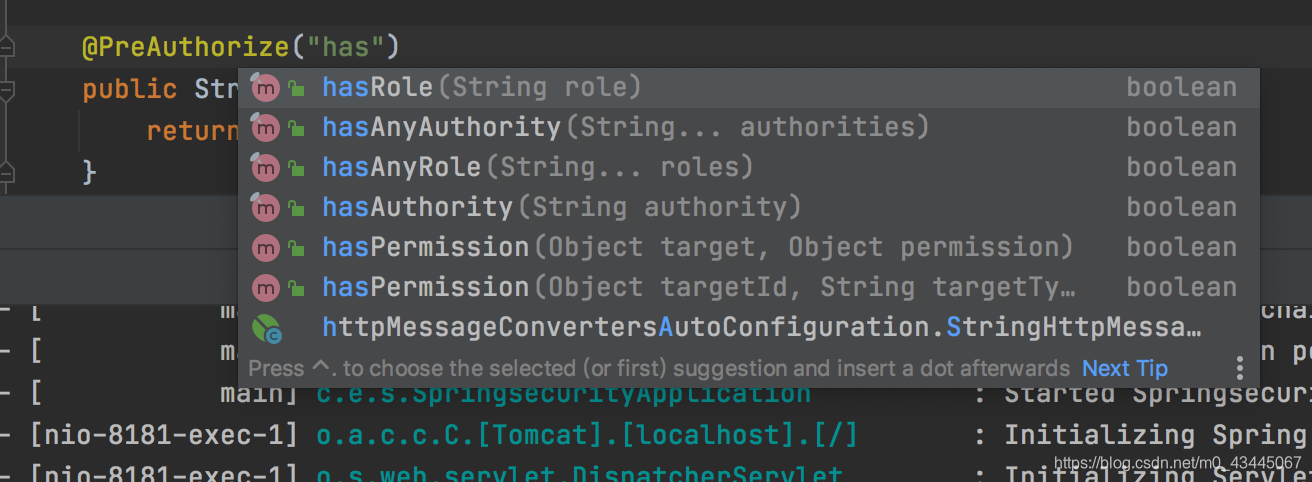
在相应方法上,加入注解**@PreAuthorize()**
1
2
3
4
5
@GetMapping("/updateUser") @PreAuthorize("hasRole('ROLE_admin')") public String updateUser () return "通过权限,这是更改页面!" ; }
hasRole
hasAnyRole
hasAuthority
hasAnyAuthority
注意涉及到Role时,手动添加ROLE_XXX 即可。
只不过是,方法执行后,遇到了403权限错误。
1
2
3
4
5
6
@GetMapping("/afterMethodVerify") @PostAuthorize("hasRole('ROLE_admin')") public String afterMethodVerify () System.out.println('一定会执行的!' ); return "通过权限,这是目标页面!" ; }